Simple JavaScript project for beginners
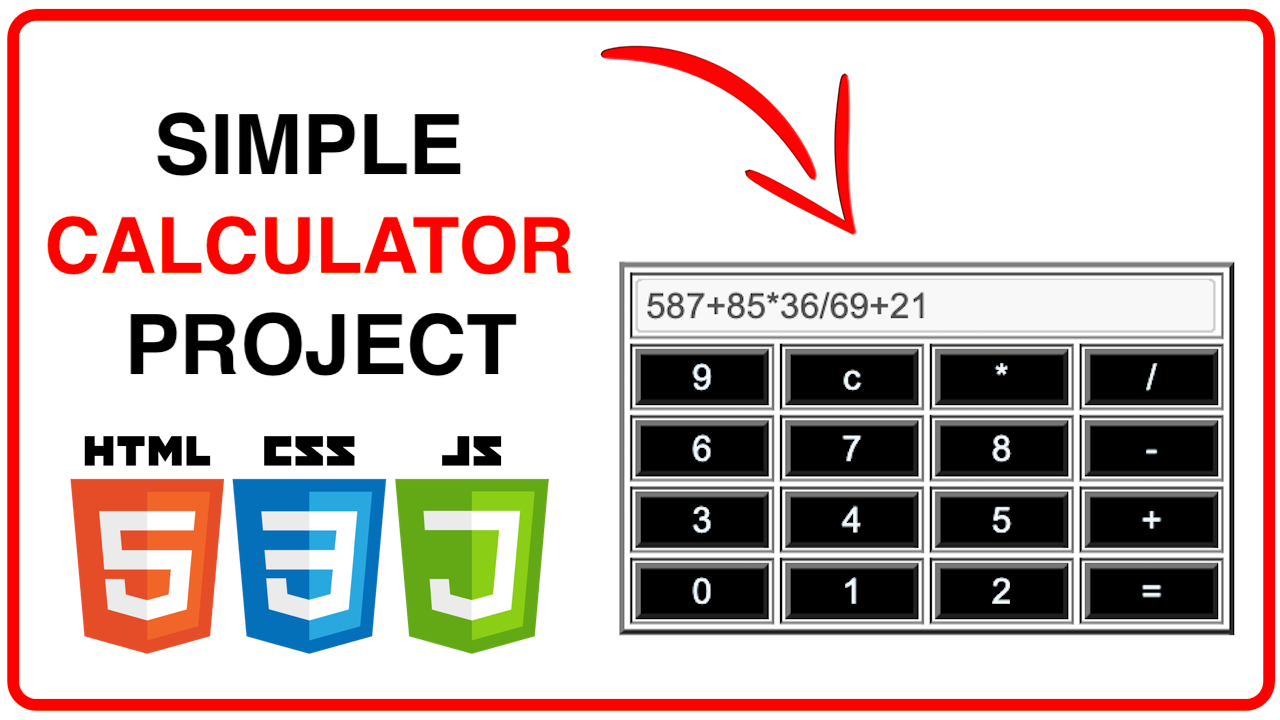
If you are you interested in learning how to create a basic calculator using HTML, CSS, and JavaScript? Look no further! In this tutorial, we'll walk through the steps to build a simple calculator that can perform addition, subtraction, multiplication, and division operations. Whether you're new to web development or looking to reinforce your skills, this beginner-friendly project is a great place to start.

Requirements
Before we dive into coding, ensure you have a basic understanding of HTML, CSS, and JavaScript. You'll need a text editor and a web browser to follow along with this tutorial.
Setting Up the HTML Structure
Let's start by creating the HTML structure for our calculator. Open your text editor and create a new HTML file. Copy and paste the following code:
<!DOCTYPE html>
<html lang="en">
<head>
<meta charset="UTF-8">
<meta name="viewport" content="width=device-width, initial-scale=1.0">
<title>Simple Calculator</title>
</head>
<body>
	<table border =2>
		<tr>
			<td colspan="4"> <input type ="text" id = "display" disabled></td>
		</tr>
		<tr>
			<td><button onclick="addvalue('9')">9</button></td>
			<td><button onclick="reset()">c</button></td>
			<td><button onclick="addvalue('*')" >*</button></td>
			<td><button onclick="addvalue('/')">/</button></td>
		</tr>
		<tr>
			<td><button onclick="addvalue('6')">6</button></td>
			<td><button onclick="addvalue('7')">7</button></td>
			<td><button onclick="addvalue('8')">8</button></td>
			<td><button onclick="addvalue('-')">-</button></td>
		</tr>
		<tr>
			<td><button onclick="addvalue('3')">3</button></td>
			<td><button onclick="addvalue('4')">4</button></td>
			<td><button onclick="addvalue('5')">5</button></td>
			<td><button onclick="addvalue('+')">+</button></td>
		</tr>
		<tr>
			<td><button onclick="addvalue('0')">0</button></td>
			<td><button onclick="addvalue('1')">1</button></td>
			<td><button onclick="addvalue('2')">2</button></td>
			<td><button onclick="calculate()">=</button></td>
		</tr>
		</table>
	</body>
</html>
Styling with CSS
Now, let's style our calculator to make it visually appealing. Copy the following css code just below the <title> tag, if you have knowledge of external css you can also create separate css file and link it in HTML document, but now we will just use internal css.
<style>
	table {
		margin-left: 50%;
		margin-top: 20%;
		scale:2;
	}
	button{
		width: 50px;
		background-color: black;
		color: aliceblue;
	}
	input {
		width: 96%;
	}
</style>
Implementing JavaScript Functionality
Next, let's add functionality to our calculator using JavaScript. Copy the following JS code just below the </body> tag, if you have knowledge of external JS you can also create separate JS file and link it in HTML document, but now we will just use internal JS.
<script>
	function addvalue(value){
		document.getElementById("display").value += value;
	}
	function reset(){
		document.getElementById("display").value = "";
	}
	function calculate(){
		document.getElementById("display").value = eval(document.getElementById("display").value);
	}
</script>
Testing Your Calculator
Open the HTML file in your web browser, and you should see a simple calculator interface. You can perform basic arithmetic operations by clicking the buttons. Test your calculator with different inputs to ensure it works as expected.
Conclusion
Congratulations! You've successfully created a simple JavaScript calculator for beginners. This project is a great starting point for understanding how HTML, CSS, and JavaScript work together to build interactive web applications. Feel free to customize and expand upon this calculator to enhance your skills further. Happy coding!


